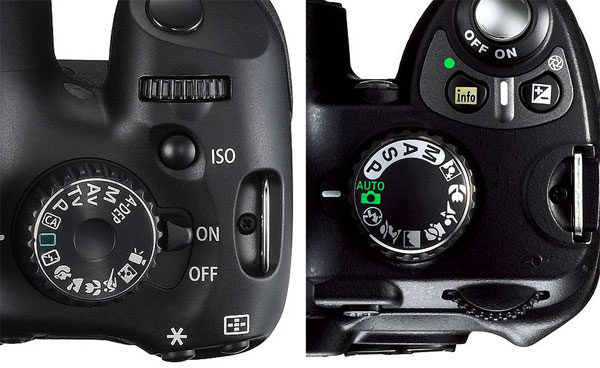
This is something I’ve wanted to put together for a while since I’ve been teaching a Using Your DSLR Class for Adult Ed at Minnechaug. I throw around a lot of terms in class like aperture, exposure, shutter speed and ISO. Many who take the class slowly understand how, thru the process of trial and error, the four components work together to get a proper exposure. Of course, you COULDuse the automatic modes that come with your camera, but that would take all the fun out of it! Some of the images presented here were found on various places on the web (like the pictures of the camera tops and the backs), but the rest are pics that I’ve taken, some for myself, some for clients, and some for the class to help explain exactly what I’m talking about. I hope this little tutorial helps you get the most out of your DSLR and gives you enough confidence to turn the dial from auto mode!
The first thing tell my classes is to get familiar with all the built-in functions of their DSLR. Canon and Nikon prosumer DSLR’s almost have all the same settings: Auto, Auto-Without Flash, Portrait, Landscape, Action, Macro, Night and some, Movie. The first exercise is simple, start indoors using the same subject (a person, dog, or a plant if no one is around) – start with AUTO, then AUTO-no Flash, and so forth until you’ve taken at least one image with each of the modes… when you take the images off the camera and look at them, you’ll quickly know which image worked! Odds are, indoors, the Auto or Portrait modes will work best because in these modes, the pop-up flash will engage and help expose your picture. Again, if you’re indoors, odds are you’ll need the extra light.
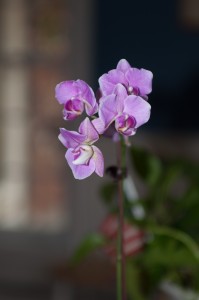
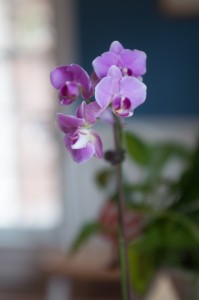
As you can see, the image with the pop up flash looks better (sharper) than the one without the flash. This is because with the flash popped up, you’ll get at least 1/60th of a second exposure – which in the dark will eliminate some of the blur from a slow shutter speed. The image on the right is exposed at 1/8 of a second – it was hand held and it’s a bit blurry, even though I was leaning up against the window and trying REALLY hard not to move! So, once everyone has given all the automatic modes a go, and hopefully they can see for themselves which work and which don’t, it’s on to those other letters on the dial! Without going full-on Manual mode, let’s start with A or Av (Aperture Priority). The aperture is the opening in your lens that lets you control how much light is let in to the camera. Pictures that are taken with a low aperture or f/stop will let in more light, this allows you to take pictures in situations where there isn’t much light to work with (such as indoors, or at night). A low f/stop will also give you a shallow depth of field. A shallow depth of field gives you one part of your picture in focus and the background blurred (called bokeh).
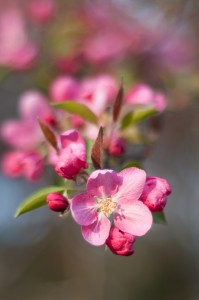
Using a low f/stop yields the foreground flower in focus, with the background flowers blurred out.
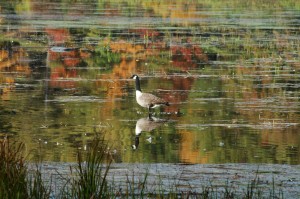
The picture above used a higher f/stop, it was set to f/10, notice how the whole picture is clear, not just the duck.
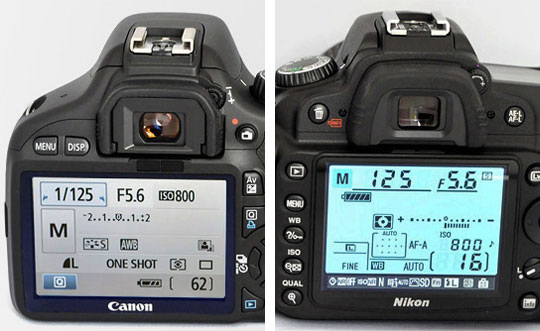
One note about Aperture priority: make sure you keep an eye on your shutter speed as you go thru the exercise. Look at the picture below.
On both information screens, the shutter speed is 1/125 (on the Canon it says 1/125, on the Nikon it says 125). You want to keep that number higher than 60 as much as possible. Anything lower than 60, you’ll need a tripod if you want to properly expose the shot – and if you’re shooting a moving object, forget it! It will be blurry even with a tripod.
If you see the shutter speed getting low, you can compensate for this by bumping up your ISO… which now is a good time to talk about ISO!
ISO is the how sensitive the sensor in the camera is to light. A lower number, the less light the camera will use, the higher the number the more the light the camera will use.
For example, on a bright sunny day, if you’re taking pictures outside, you might want to set your ISO to 100 to help limit the amount of light the camera sees. On the other hand, if it’s dusk or you are indoors and want to try to take a picture without using your flash, you’ll set your ISO to 800 or higher… doing this will make your shutter speed increase. Keep increasing your ISO until you have at least 1/60th of a second or better. Of course, there is a trade off (there always is!) the higher you go with your ISO the more grainy (called noise) your pictures will look.
As part of the exercise from class, I have folks run thru their ISO, starting at 200 and going to the maximum ISO the camera will use. When you get the images off the camera, you can tell exactly how high you can put your ISO with acceptable noise in your image.
Click on the above image and look at the graininess (noise) – at 10,000 ISO, while a noisy image, it’s perfectly usable. This was taken on a professional camera (Nikon D3s), so your milage WILL vary on this one. You’re likely to have success in the 800 to 1600 ISO range.
One last note about ISO and noise. When you look on your computer screen the noise is much more noticeable than if you PRINT the image with the noise. You’ll be amazed how even a noisy image looks pretty good printed out!
Shutter Speed
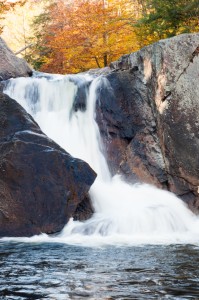
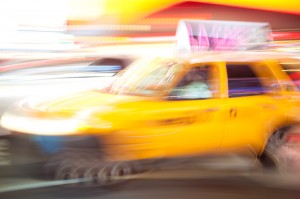
You can get some pretty dramatic photos when you set your shutter speed to a very slow setting, pretty much anything under 1/60 of a second will produce some level of motion blur. While most of the time you’ll want to really freeze the action, there are times you will want to have a slow shutter effect, like in these shots:
Slow shutter speed really does yield a cool effect!
But to really stop action, you’ll want a FAST shutter speed. Take this shot for example:
More to follow!!


